How I got introduced to this wonderful product?
Recently, our development team was working on a multi-questionnaire wizard which collects information from the user, and auto-populates plenty of documents, which are later verified and signed by the user. Because there were too many documents, we didn’t want the user to fill each of them separately as most of the documents shared the same data. After a thorough research we decided to use Aspose.Words for .NET.
How easy it was to use?
The products we develop do not rely much on the Third-Party APIs, but due to the time crunch we decided for this purpose let’s go with a Third-Party API which can be easily integrated and the deployment is easy as well as less time taking. Thankfully, Aspose.Words met all of our requirements and we are right in time to make our product live. Apparently, Aspose is the only library which has all object similar to Microsoft Office Object Model and is very useful to add some flexibility and functionality to our application. We were easily able to use the features like inserting formatted text, paragraphs and images. Also, we were able to generate sections based on user inputs and populate tables using data retrieved from database. The ability to carry out initial testing within the trial was very beneficial and the support towards the end user is awesome. I strongly encourage those who have a need to convert word documents or need to access fields programmatically to use Apose.Words.

Implementation of Aspose API Library
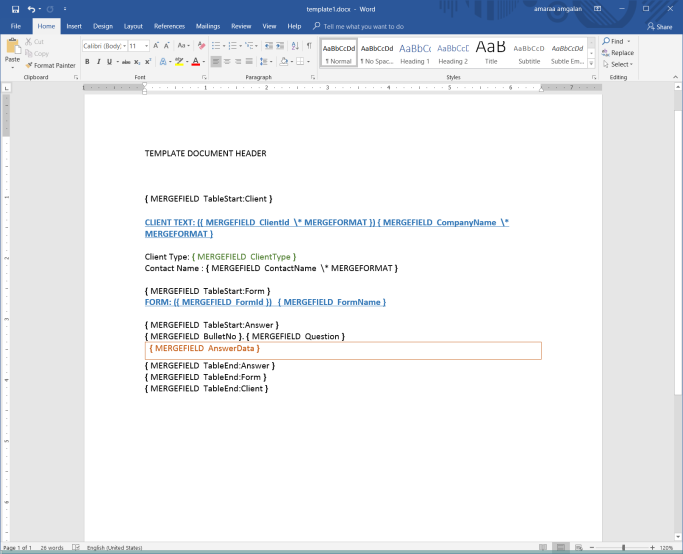
This is how the document template is created.
Where can i find more about the product?
Click on the image below 😉